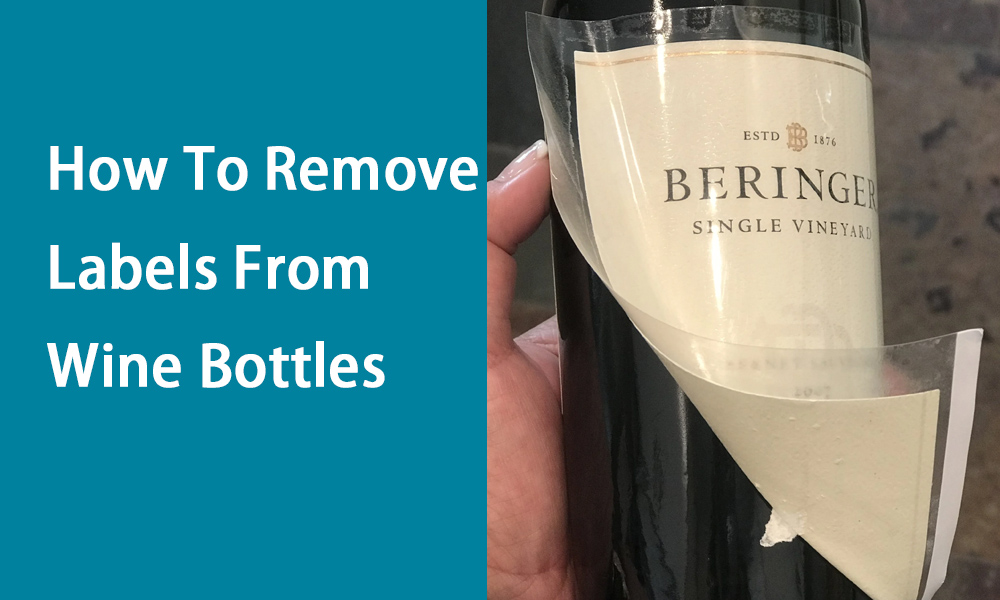
Let us begin by acknowledging a common household frustration: the sticky label that refuses to budge. Whether it is a price tag on a new kitchen gadget, a product label on a storage container, or a stubborn bumper sticker on a car part, these adhesive markings often leave behind a gooey, unsightly residue that is nearly impossible to ignore.
People often purchase an item, perhaps a sleek, new plastic storage bin, only to find the joy of the acquisition quickly dampened by the struggle to remove the manufacturer’s sticker cleanly. This is a challenge that every consumer eventually faces, and it necessitates a careful, systematic approach to solve the problem without causing damage.
This article provides clear, tested steps for several approaches. You will learn when to use heat, when to soak, when to use oil or baking soda paste, and how to finish with a clean surface. The instructions will help you avoid scratches and discoloration while removing labels and residue.

Why Labels Stick And Why Removal Can Be Tricky
Adhesive labels stick because manufacturers want the label to stay put during handling and shipping. The adhesive molecules attach to tiny bumps on the plastic surface. Temperature and time make adhesives stronger. When you try to peel a label off, the adhesive may stay behind or pull at the plastic. You should avoid tools and chemicals that will scratch, melt, or discolor the plastic. You will get the best result when you pick a method that matches the plastic type and the age of the label.
Safety and Preparation
Before you begin, take a few simple precautions and prepare materials. Doing so will save time and avoid damage.
- Test first. Always test any solvent or method on a small, hidden area of the plastic item. A test will show whether the plastic will discolor, become cloudy, or weaken.
- Work in a ventilated area. Many solvents produce fumes that you should not breathe in large amounts. Open a window or work outside if possible.
- Protect surfaces. Place a towel or newspaper under the item to catch drips and debris.
- Gather materials. Collect the materials listed below so you can move through the steps without interruption.
- Use gentle tools. Choose a plastic scraper, old credit card, or fingernail to avoid scratching the surface.
Materials You Might Need
Below I list common materials that you can find in most homes. Each item works for different kinds of labels and plastic.
- Rubbing alcohol or isopropyl alcohol.
- White vinegar.
- Vegetable oil, baby oil, or olive oil.
- WD-40 or a similar citrus-based adhesive remover.
- Baking soda.
- Dish soap.
- Warm water.
- A hairdryer.
- A plastic scraper or an old credit card.
- Cotton balls, soft cloths, or microfiber towels.
- A soft-bristled brush or a sponge.
- Gloves (optional).
- A bowl or sink for soaking.
You should test one of these materials on a hidden area of the plastic before wide application. A short test lets you check for color change, softening, or any other damage.
Method A — Heat And Peel (Best First Step For Most Labels)
You should use heat when a label sits flat on the plastic without deep creases. Heat softens the glue, and soft glue releases more easily.
- Position the hairdryer. Place the hairdryer about 2–3 inches (5–8 cm) from the label.
- Warm the label. Turn on the hairdryer to a medium or high setting and warm the label for about 20–40 seconds. The warm air softens the adhesive.
- Peel slowly. You should lift an edge of the label with your fingernail or a plastic scraper. You should pull the label back at a low angle. Continue heating as you peel to keep the adhesive soft.
- Remove remaining bits. After you peel the main label, you should rub any residue with a cloth dampened with rubbing alcohol or white vinegar. The cloth should dissolve the sticky bits so they wipe away.
- Wash the plastic. You should clean the plastic with warm, soapy water to remove solvent or oil traces. Rinse and dry the item.
Why this works: Heat lowers the adhesive’s tack, which reduces the glue’s grip on the plastic. The rubbing alcohol dissolves residual adhesive molecules so the residue wipes off.
Cautions: A hairdryer reduces risk of damage relative to a heat gun. You should not concentrate hot air on thin or heat-sensitive plastic. You should test a small area first.

Method B — Soak In Warm, Soapy Water (Best For Stickers On Containers)
You should use soaking when the label covers a large area or when the plastic is dishwasher-safe and heat-tolerant. This method works well on jars, bottles, and removable parts.
- Prepare the bath. You should fill a sink or basin with the hottest water that the plastic can safely handle. Add several drops of dish soap.
- Submerge the item. You should place the labeled plastic item into the soapy water and let it soak for at least 30 minutes. You should agitate the water occasionally.
- Peel and rub. You should take the item out of the water and try to peel the label. You should use a soft cloth or plastic scraper to help lift the softened label.
- Repeat if needed. You should soak again if the label resists, and you should let the item soak longer for very stubborn labels.
- Finish with soap. You should wash the plastic with fresh warm, soapy water and dry it.
Why this works: Hot water and soap penetrate the paper or plastic label and loosen the glue. The water weakens the adhesive bond and makes peeling easier.
Cautions: You should not soak items that hold electronics, batteries, or sensitive components. You should seal or remove those parts before soaking.
Method C — Rubbing Alcohol Or Vinegar (Gentle Solvent Option)
You should choose rubbing alcohol or white vinegar when you prefer mild solvents that are commonly available.
- Soak a cloth. You should saturate a cotton ball or soft cloth with rubbing alcohol or white vinegar.
- Apply to the residue. You should press the soaked cloth onto the sticky area and hold it there for a few minutes. The solvent should begin to break down the residue.
- Rub gently. You should rub the residue with the cloth until the sticky bits come off. You should use light pressure to avoid scratches.
- Rinse and wash. You should rinse the surface and then wash with warm, soapy water. Dry the plastic.
Why this works: Rubbing alcohol dissolves many adhesives. White vinegar acts as a mild acid that can loosen sticky residue by breaking bonds at the glue surface.
Cautions: You should not leave alcohol on painted or coated plastics for too long. You should test in an inconspicuous area first.
Method D — Oil Or Baby Oil (Slow But Safe For Delicate Finishes)
You should use oil when the plastic finish looks delicate or when you want to avoid strong solvents. Oil can help lift adhesive without harsh chemicals.
- Apply the oil. You should put a few drops of vegetable oil or baby oil on the sticky residue.
- Let it sit. You should allow the oil to soak into the adhesive for 5–10 minutes.
- Wipe away. You should rub the area with a soft cloth to remove the softened residue. You should repeat if necessary.
- Clean the oil. You should wash the area with warm, soapy water to remove leftover oil. Dry thoroughly.
Why this works: Oil seeps into the glue and reduces the bond strength. Oil also helps to loosen and lift the sticky material so it wipes away.
Cautions: You should thoroughly clean the area afterward to remove any oily film that might attract dust.
Method E — Baking Soda Paste (Gentle Abrasive Cleaning)
You should use a baking soda paste for slightly abrasive cleaning on sturdy plastics. This method removes residue through mild mechanical action without scratching most smooth plastics.
- Make the paste. You should mix baking soda with a small amount of water to form a spreadable paste.
- Apply the paste. You should spread the paste over the residue and let it sit for several minutes.
- Scrub lightly. You should use a soft cloth or sponge to rub the paste over the residue. You should use circular motions with gentle pressure.
- Rinse and dry. You should wash the area with warm, soapy water to remove paste and residue. Dry the plastic.
Why this works: Baking soda acts as a mild abrasive that helps scrub away adhesive residues. The paste reduces the risk of scratching because it is soft and damp.
Cautions: You should avoid this method on very thin or glossy plastics where abrasion might dull the finish.

Method F — Commercial Penetrating Sprays (For Very Stubborn Residue)
You should consider a commercial penetrating spray when household methods do not remove the residue. These products break down adhesives quickly.
- Read the label. You should read the product instructions and warnings carefully before use.
- Test on a small area. You should test the spray on a hidden spot of the plastic to check for discoloration or damage.
- Apply and wait. You should spray a small amount onto the residue and let it sit for the time recommended by the product.
- Wipe away. You should wipe the residue with a clean cloth and then wash the plastic with dish soap and warm water.
Why this works: Many penetrating sprays dissolve adhesive polymers and reduce tack in minutes.
Cautions: You should avoid strong chemical sprays on delicate plastics and painted finishes. You should use gloves and work in a ventilated area.
Detailed Comparison of Sticky Labels Removal Methods
| Method | Best For | Main Tools/Materials | How It Works | Advantages | Cautions |
|---|---|---|---|---|---|
| A — Heat and Peel | Flat labels on smooth plastic surfaces | Hairdryer, fingernail or plastic scraper, rubbing alcohol or vinegar | Heat softens the glue, making it easier to peel. Alcohol removes leftover residue. | Fast and effective for most labels; minimal mess | Avoid overheating thin or sensitive plastics; test first |
| B — Soak in Warm, Soapy Water | Large labels on dishwasher-safe containers (e.g., jars, bottles) | Hot water, dish soap, basin | Hot soapy water loosens the adhesive and softens paper labels. | Gentle, inexpensive, safe for most plastics | Not suitable for electronics or heat-sensitive plastics |
| C — Rubbing Alcohol or Vinegar | Sticky residue after peeling; small or delicate items | Rubbing alcohol or white vinegar, soft cloth | Solvent breaks down adhesive molecules, loosening residue. | Mild, common household option; fast action | May damage coatings or paint—test before use |
| D — Oil or Baby Oil | Delicate finishes; avoiding harsh solvents | Vegetable oil or baby oil, cloth | Oil seeps into the adhesive, reducing bond strength. | Very gentle and safe for most plastics | Can leave an oily film—wash thoroughly afterward |
| E — Baking Soda Paste | Sturdy plastics with light residue | Baking soda, water, sponge or soft cloth | Slightly abrasive paste scrubs away sticky residue. | Non-toxic, eco-friendly, low-cost | May dull glossy surfaces if over-scrubbed |
| F — Commercial Penetrating Sprays | Very stubborn adhesives and old residues | Adhesive remover (e.g., Goo Gone), clean cloth | Chemical agents dissolve adhesive polymers quickly. | Works fast on difficult residues | Strong chemicals—test first, use gloves, ensure ventilation |
What to Avoid When Removing Stickers from Plastic
Plastic is a very versatile material, but it can be easily damaged by the wrong cleaners or tools. To keep your plastic items looking new, never use the following:
- Acetone (Nail Polish Remover): Acetone is a very strong solvent that will quickly dissolve, fog, or permanently melt most types of plastic, leaving a permanent chemical burn or smear.
- Metal Tools or Scrapers: Knives, box cutters, metal sponges, or razor blades should never touch a plastic surface. They will easily create deep, noticeable scratches. Only use plastic scrapers or a simple old credit card.
- Excessive Heat: While a hair dryer is safe, do not use a heat gun, a lighter, or hold the dryer too close for too long. Excessive, focused heat will melt, warp, or discolor the plastic surface.
- Steel Wool or Abrasive Pads: Even the “fine” grades of steel wool will scour and dull a smooth plastic finish. Stick to soft cloths, cotton balls, or the soft side of a kitchen sponge.
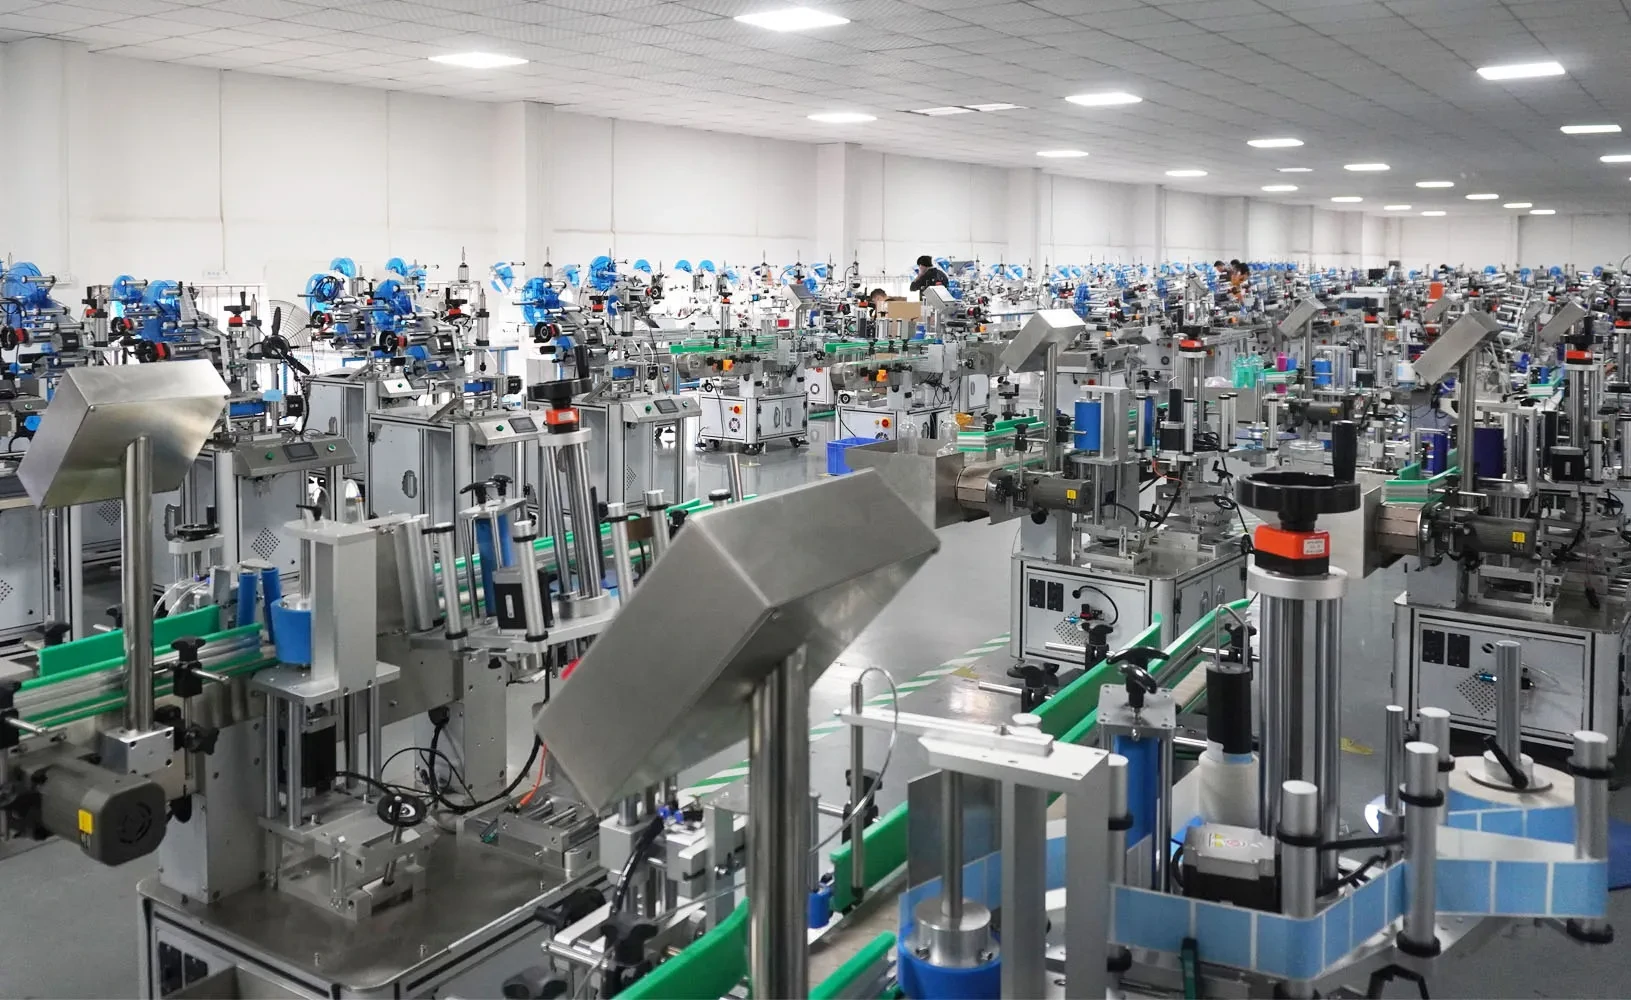
Get Perfect Labeling Results with Autmachine
Removing old sticky labels is just one part of keeping your products and packaging clean and professional. For consistent, high-speed labeling that saves time and improves efficiency, Autmachine offers advanced automatic labeling machines designed for self-adhesive (sticker) applications.
Our labeling machines provide precise placement, smooth operation, and compatibility with various plastic products — from bottles and boxes to custom containers. Whether you run a small production line or a large-scale factory, Autmachine’s automatic labeling solutions ensure your products always look clean, consistent, and market-ready.
Upgrade your labeling process today with Autmachine’s automatic self-adhesive labeling machines — for accuracy, speed, and reliability that help your business stand out.
Get Your Perfect Labeling Machine Today
Send samples or visit for a live demo!
Conclusion
You should be able to remove sticky labels from plastic using one or more of the methods above. You should start with the least aggressive option and work up to stronger treatments only if needed. You should test on a hidden area first to protect the plastic. You should clean the item thoroughly after removal to remove all residues and product traces. If you follow these steps, you should find that label removal becomes faster and less risky each time.
FAQ
Acetone often damages many common plastics. You should avoid acetone on most plastic surfaces. You should use isopropyl alcohol as a safer alternative.
You absolutely should not use pure acetone on most household plastics, such as ABS or polystyrene (common in toys and electronics casings). Acetone is a very strong solvent, and it will melt, dissolve, or permanently damage the surface of the plastic instantly, leaving a foggy or sticky mess. You should only use it on materials like glass or metal.
You must be extremely cautious with electronics. You should never use the soaking method or the heat method (hairdryer). You must stick to Method 2 (Rubbing Alcohol) or Method 3 (Oil), and you should apply them only with a cotton swab or a tightly wrung-out cloth to ensure that absolutely no liquid drips into the seams or vents of the device. You should test a hidden area near the battery compartment or under a rubber foot first.
You should never use abrasive materials like steel wool, green scouring pads, or even rough sponges. They will leave visible scratches and microscopic abrasions on the plastic, which will collect dirt and look hazy over time. You must only use soft cloths, microfiber towels, or a plastic scraper.